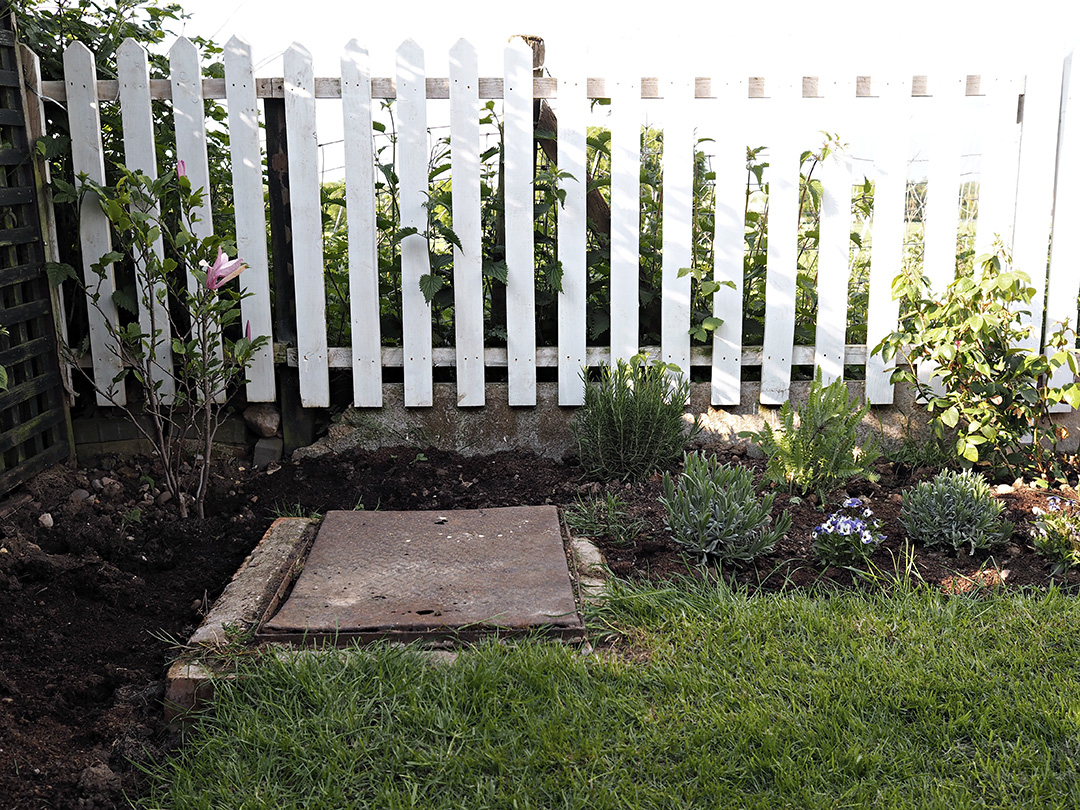
Does anyone else have a great big eye sore of a manhole in their garden? I’ve researched it and you can get manhole cover planters but to be perfectly honest I’m not paying nearly £100 for what looks just as bad as the manhole cover itself. Hence taking matters into my own hands (or technically my boyfriend’s hands – these nails are not made for sawing *insert painting nails emoji*). Since moving into my house two years ago, the garden has been the biggest transformation of all since the lady who previously owned it ran a dog kennels. It has gone from being all concrete, no grass, sheds everywhere, chicken wire, 3m high fences and gates, to a (still in progress) country garden. Since this transformation began, you can imagine that there have been tons of materials thrown into the corner ready for the skip (which I am finally ordering this week). Where I can, I have tried to salvage materials to use elsewhere to save money and because you can pretty much find a use for anything you have lying around so why not? I’ve had a few decking boards sat in the garden for literally a year now just growing algae – so I asked my other half if he could make me a planter to cover the manhole. We all know men like a challenge so naturally he said yes immediately.
The best thing about this DIY is that you can make your planter whatever dimensions you want, even if you only have one decking board (£5 from B&Q) you can still make a small planter – and compared to planter prices in B&Q that’s cheap! We had a couple of boards to use so we made a double tiered planter, but you could easily make a small planter just one board high and it would make a lovely herb planter size or a even a window box.
So here goes.
You will need:
- Decking boards
- Saw
- Screws
- Nails
- Wood for base and corners
- Hammer
- Empty compost bags
- Compost
- Plants
- Handy man – depending on your sawing skills
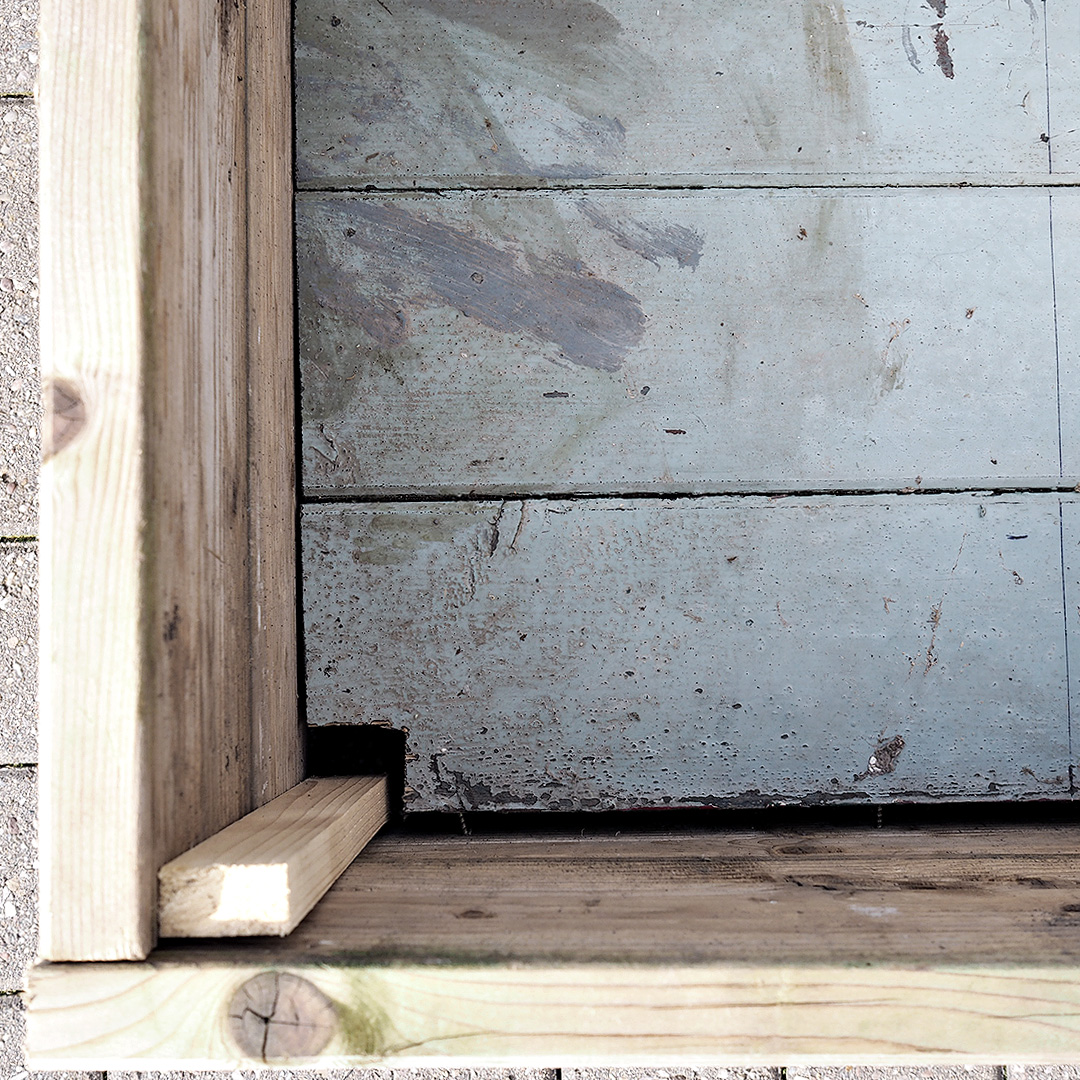
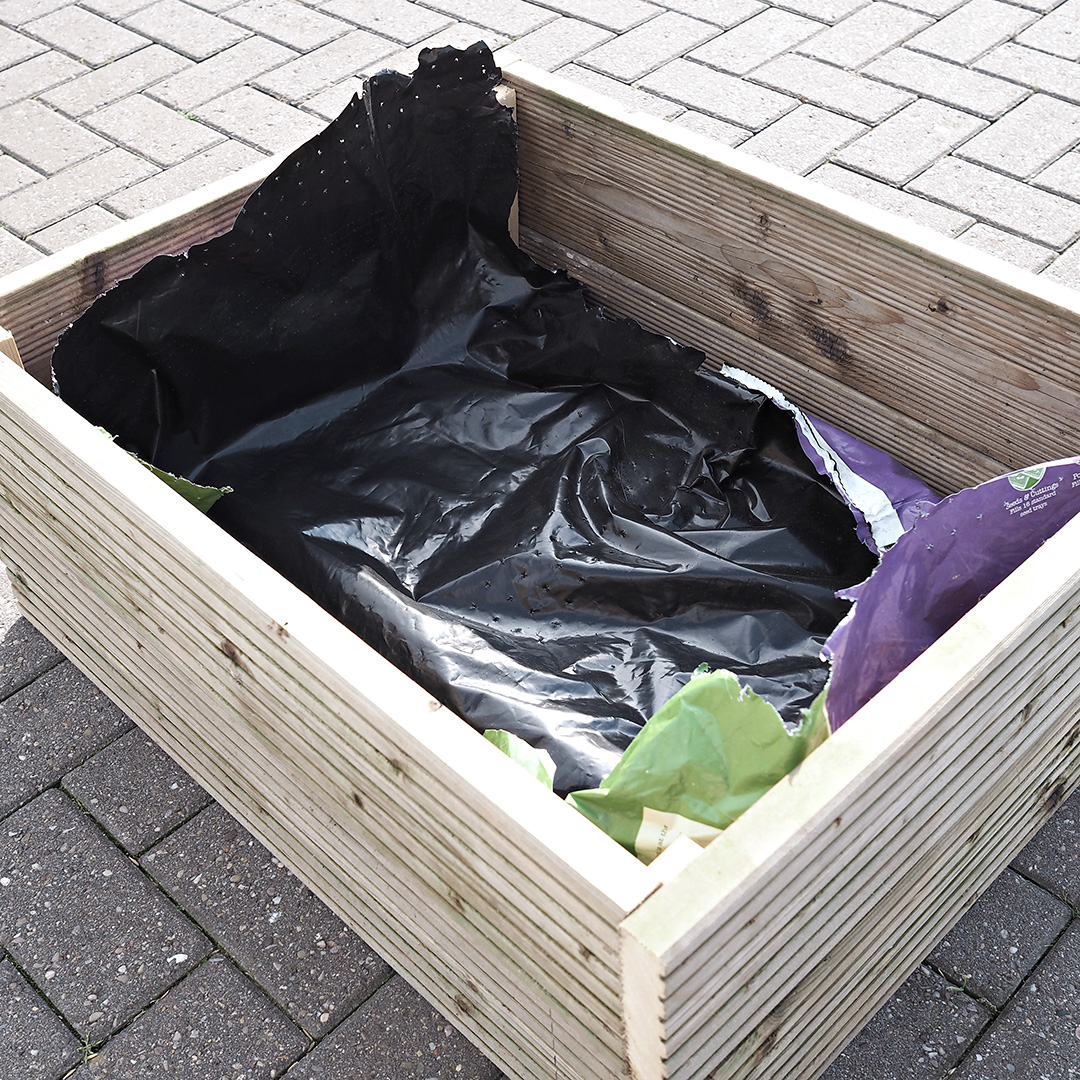
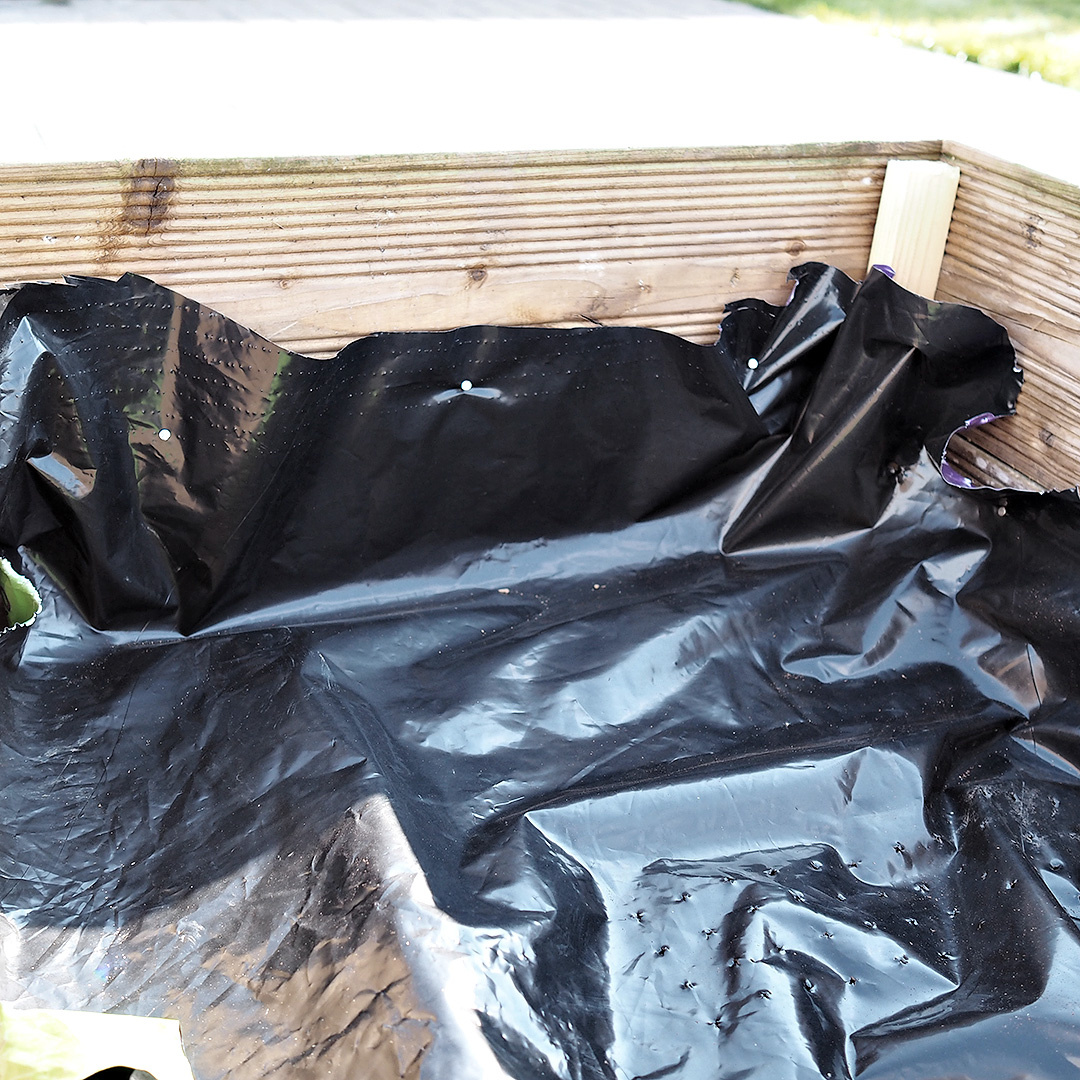
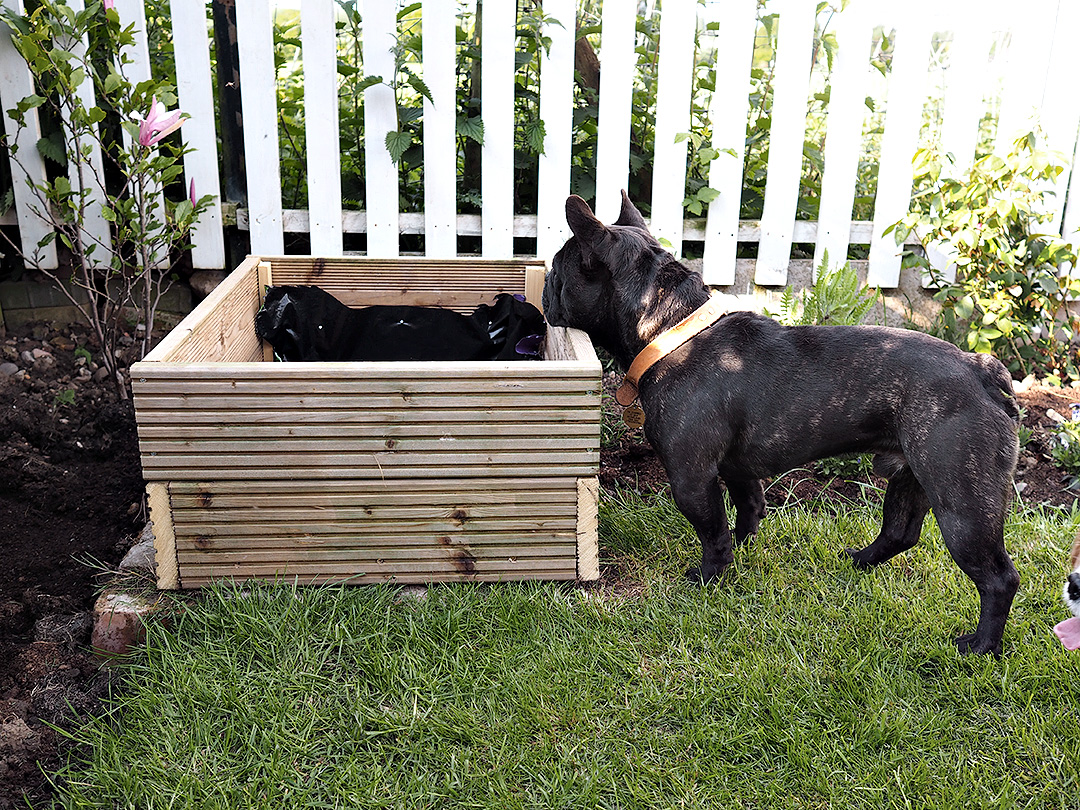
Firstly you need to decide the dimensions your planter is going to be and then saw the decking boards to size. Once you’ve got your individual pieces you can screw them together to create your planter frame. If you’ve got more than one tier of decking boards then you will need some wood screwed in each corner, to both tiers, to keep both tiers together. Otherwise when you pick your planter up at the end to move it, you’re only going to pick half of the planter up! Next you need a base for your planter. We used an old shed door that was in the skip pile – this kind of material is ideal as it is already treated for water so it’s not going to rot when you put compost in and start watering it regularly. Cut your base to size and screw it in from the decking inwards. Now you have your complete frame it’s best to line it. This will help if your base isn’t perfectly cut to fit the sides (you don’t want compost seeping out of the bottom) and also it will help to stop any rotting that might happen over time. We used an empty compost bag (these things come in handy guys), cut it down the sides and then nailed it to the inside of the frame. Make sure that it’s pressed into each of the corners, you don’t want it too tight otherwise when you put your compost in later on and water your plants, the weight will rip the bag off the nails. Once nailed in, trim the top of the liner so that the compost bag isn’t going to be on show once you’ve put your compost in. And that’s basically it. The filling with compost and planting I’m sure you won’t need any help with.


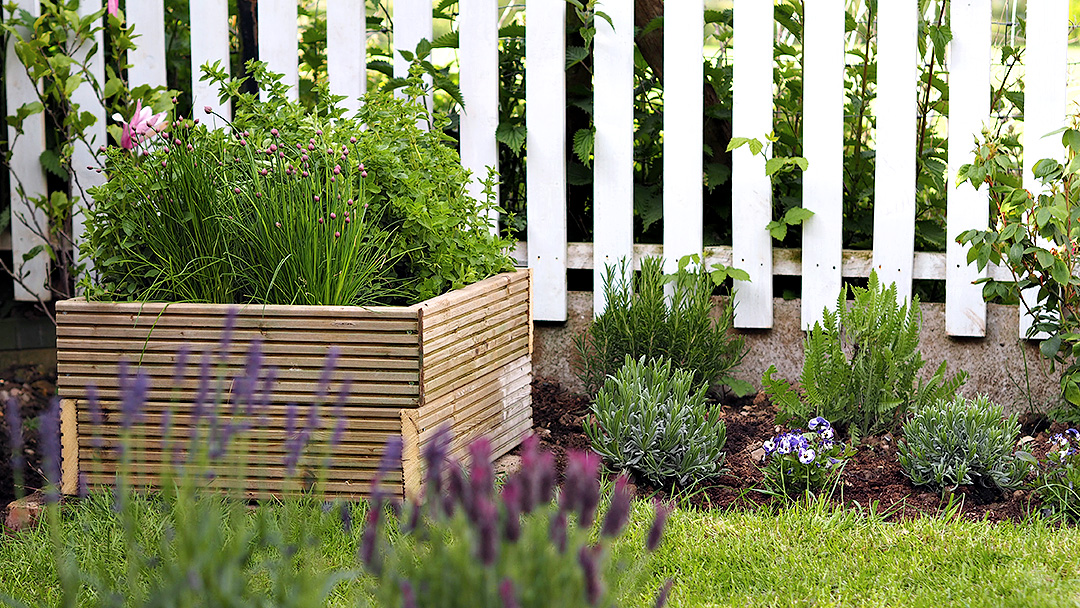
And there you have it. Bye bye ugly man hole cover, hello country planter.
So if you’ve got any left over decking lying around, or don’t fancy paying silly prices for a planter (let’s face it DIY stores and garden centres are so overpriced!) – make one yourself. This will work out a lot cheaper and you will be so much more satisfied with it knowing you have made it yourself.
Let me know if you decide to make yourself a decking planter, I’d love to see!
X